Table of contents
- Project Description:
- The project is about automating the deployment process of a web application using Jenkins and its declarative syntax. The pipeline includes stages like building, testing, and deploying to a staging environment. It also includes running acceptance tests and deploying to production if all tests pass.
- Why Pipeline?
Project Description:
The project is about automating the deployment process of a web application using Jenkins and its declarative syntax. The pipeline includes stages like building, testing, and deploying to a staging environment. It also includes running acceptance tests and deploying to production if all tests pass.
Step1:Launch an EC2 instance with below Jenkins/docker installation script.

#!/bin/bash
    sudo apt-get update
    sudo apt install default-jre
    sudo apt install default-jdk
    curl -fsSL https://pkg.jenkins.io/debian-stable/jenkins.io-2023.key | sudo tee \
    /usr/share/keyrings/jenkins-keyring.asc > /dev/null
    sudo sh -c 'echo deb [signed-by=/usr/share/keyrings/jenkins-keyring.asc] \
    https://pkg.jenkins.io/debian-stable binary/ | sudo tee \
    /etc/apt/sources.list.d/jenkins.list > /dev/null'
    sudo apt-get update
    sudo apt-get install jenkins -y
    sudo systemctl start jenkins
    sudo systemctl enable jenkins
    sudo apt-get install docker.io -y
    sudo usermod -aG docker jenkins
    sudo systemctl start docker
    sudo systemctl enable docker
Check status of jenkins/docker if running or not.


Once done with installations open port 8080 security group

Step2:Try to access public IP 3.83.153.244:8080
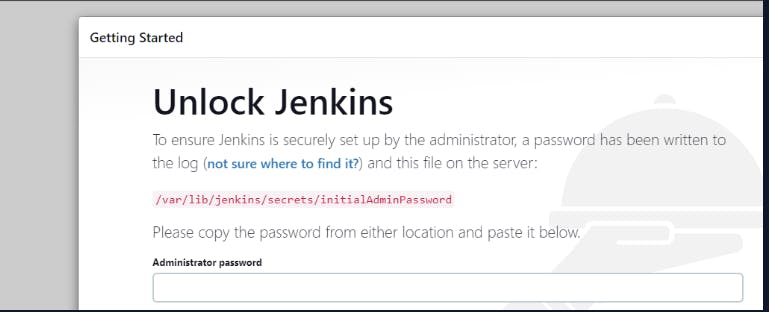
Unlock Jenkins by below key

Create credentials for 1st time user
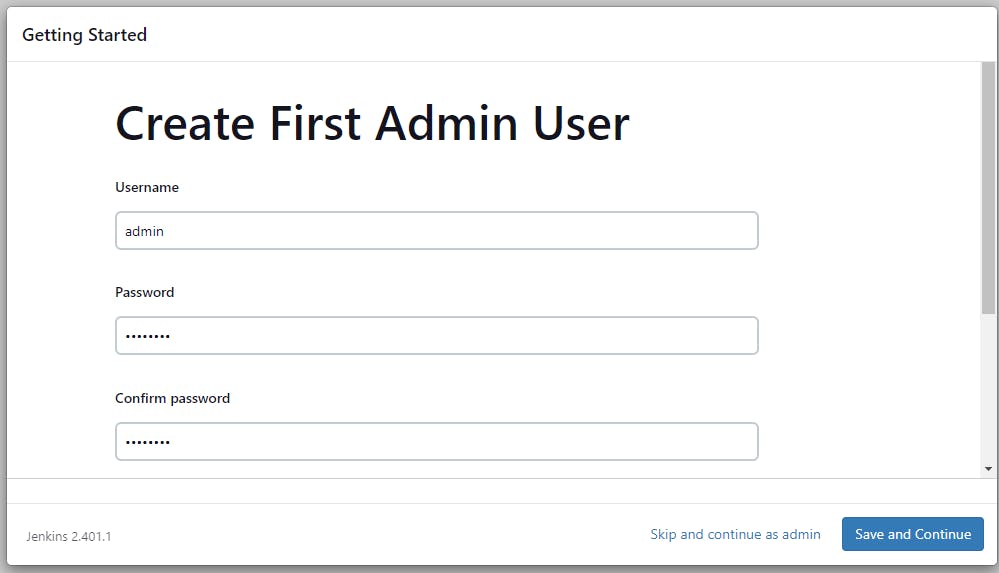
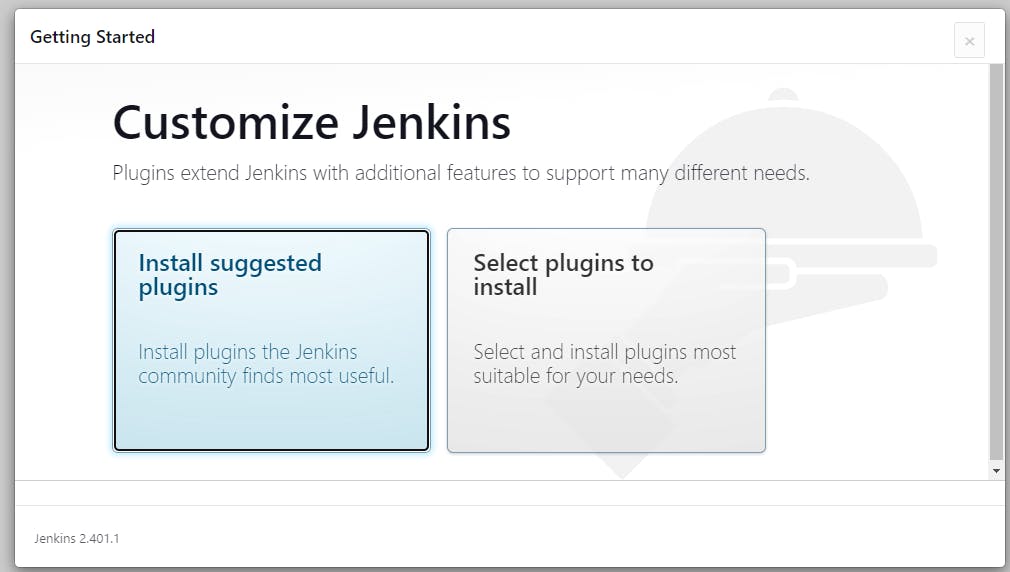
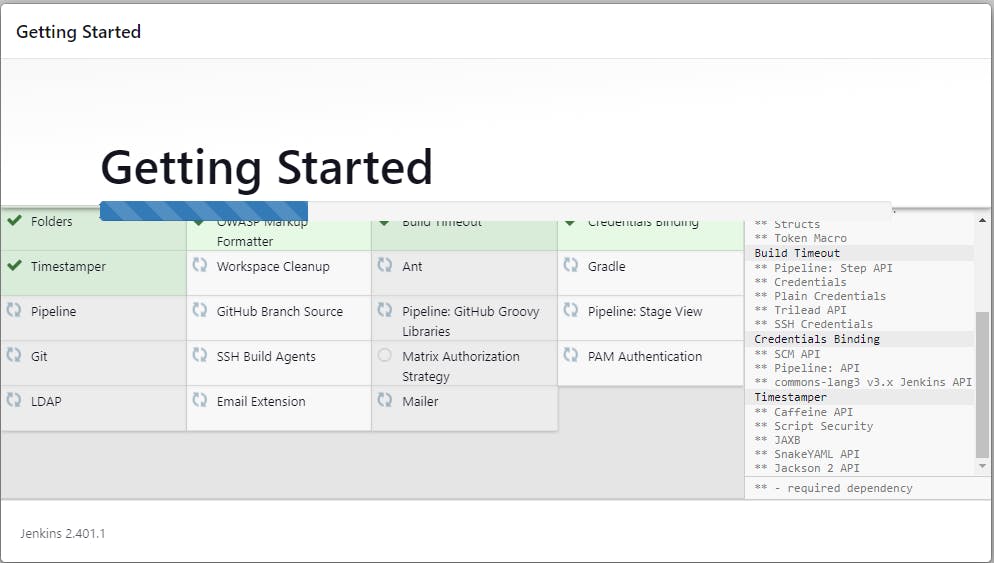
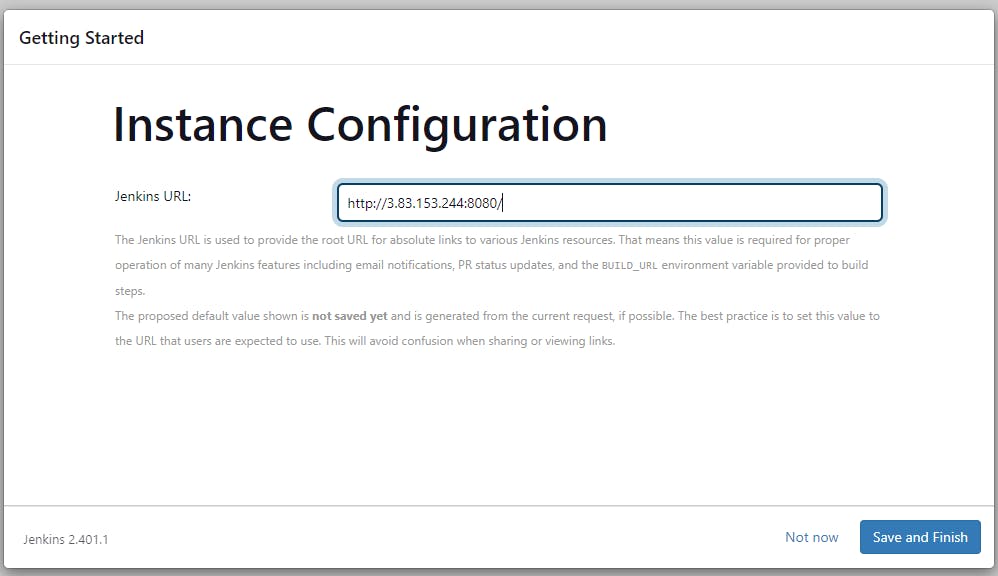
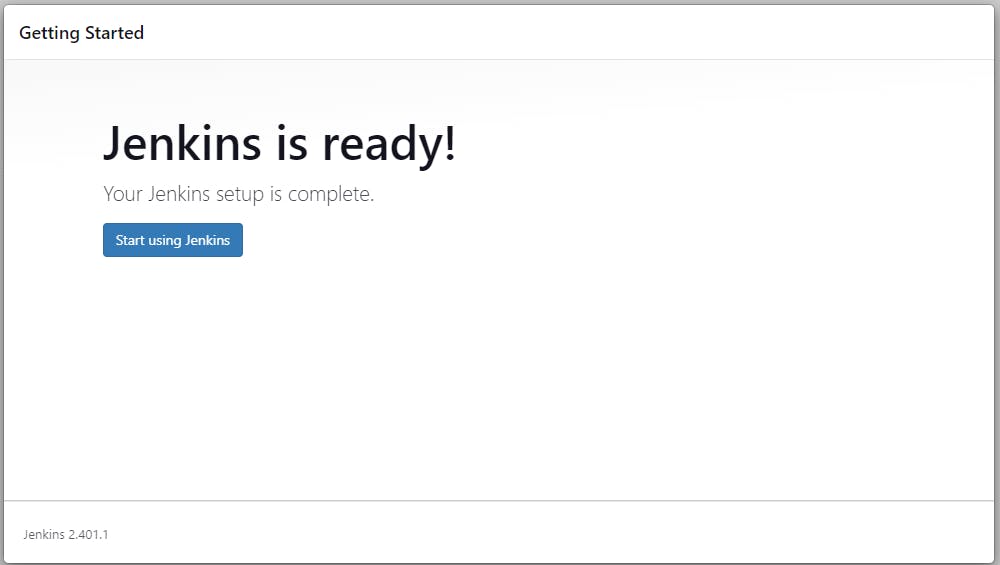
Good to go with Jenkins now!
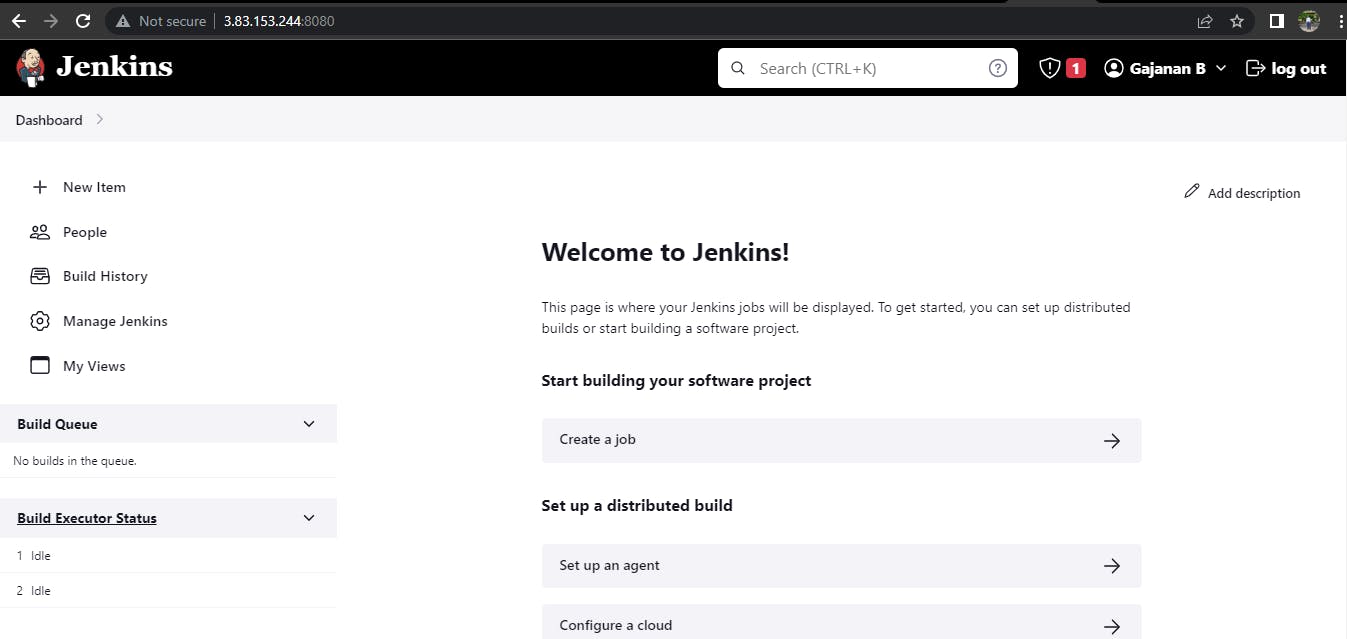
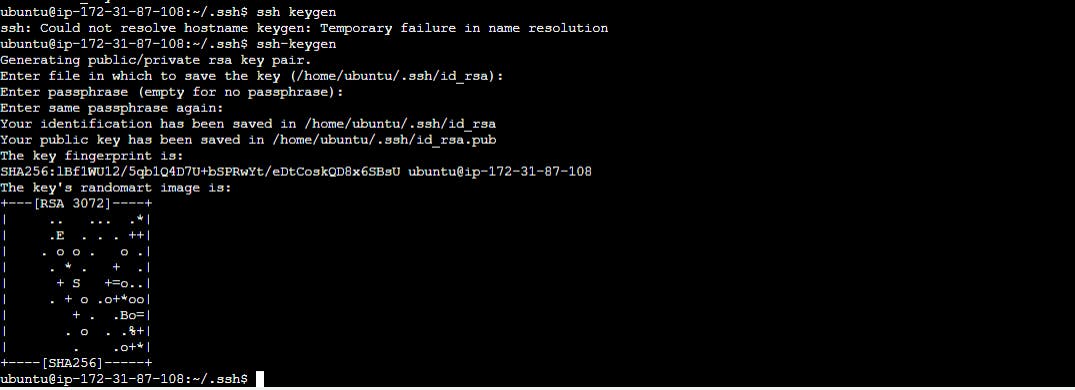
Step3:generate keys by ssh-keygen
This will generate public and private keys in the machine.
Id_rsa – Private Key.
Id_rsa.pub – Public Key.

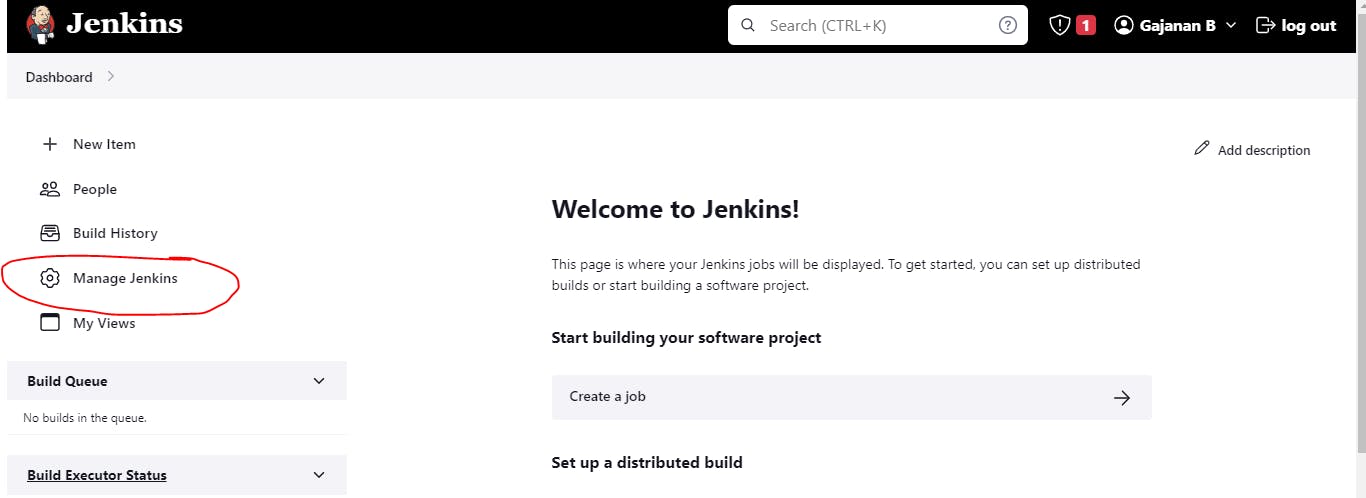
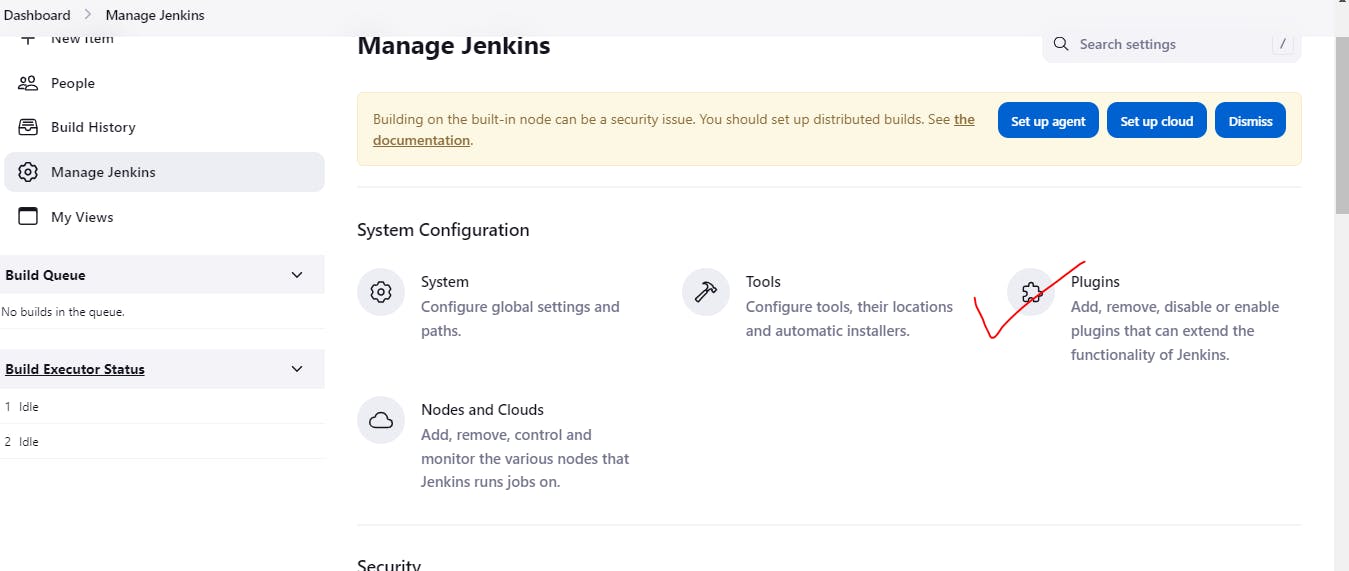
Step4:Navigate to manage jenkins and under available plugins search for github integration as we need this plugin for the integration with github(our code is in github)
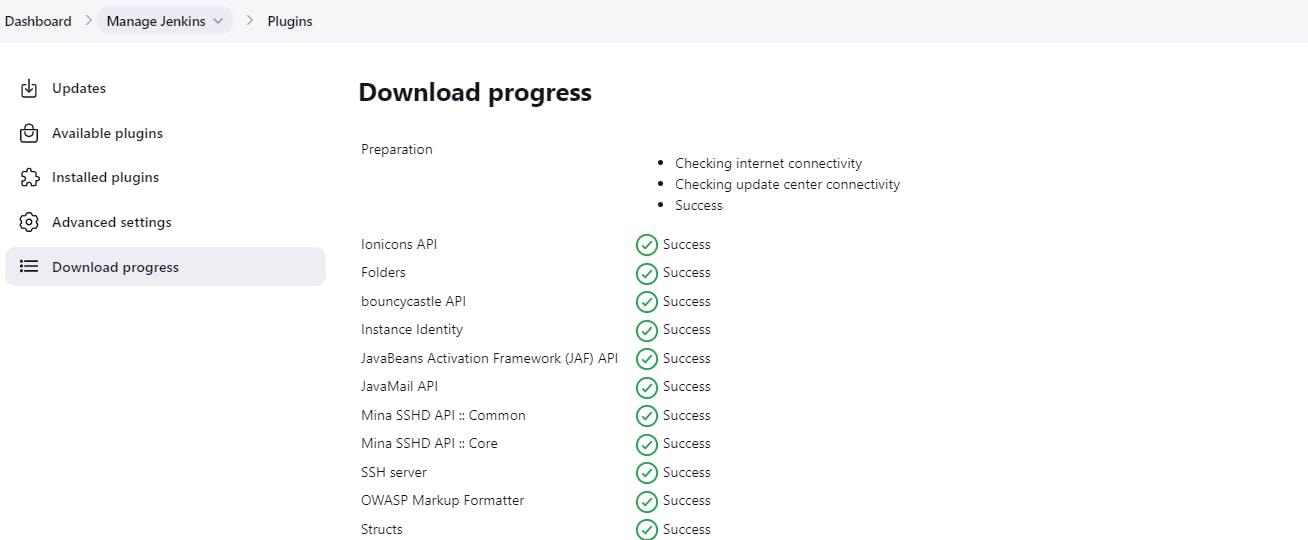
Install without restart

Check download progress
Step5:Now move back to our problem statement for project
Select new item like below

Declarative Pipeline is a more recent feature of Jenkins Pipeline which:
provides richer syntactical features over Scripted Pipeline syntax, and
is designed to make writing and reading Pipeline code easier.
Why Pipeline?
Jenkins is, fundamentally, an automation engine which supports a number of automation patterns. Pipeline adds a powerful set of automation tools onto Jenkins, supporting use cases that span from simple continuous integration to comprehensive CD pipelines. By modeling a series of related tasks, users can take advantage of the many features of Pipeline:
Code: Pipelines are implemented in code and typically checked into source control, giving teams the ability to edit, review, and iterate upon their delivery pipeline.
Durable: Pipelines can survive both planned and unplanned restarts of the Jenkins controller.
Pausable: Pipelines can optionally stop and wait for human input or approval before continuing the Pipeline run.
Versatile: Pipelines support complex real-world CD requirements, including the ability to fork/join, loop, and perform work in parallel.
Extensible: The Pipeline plugin supports custom extensions to its DSL [1] and multiple options for integration with other plugins.
Step6:Declarative pipeline:
Select:Pipeline
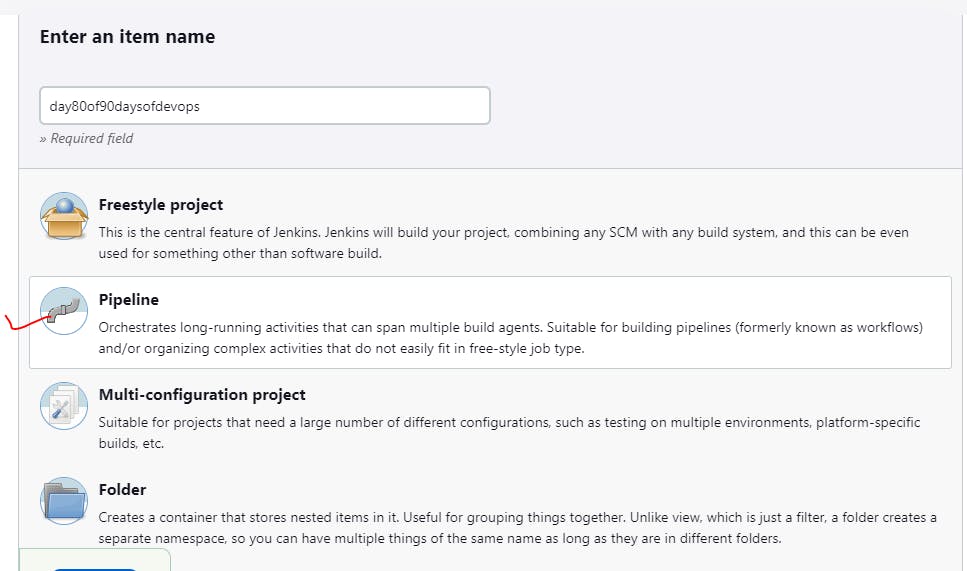
Provide description:The project is about automating the deployment process of a web application using Jenkins and its declarative syntax. The pipeline includes stages like building, testing, and deploying to a staging environment. It also includes running acceptance tests and deploying to production if all tests pass.

Step7:Using credentials-As we used dockerhub to push the image
There are numerous 3rd-party sites and applications that can interact with Jenkins, for example, artifact repositories, cloud-based storage systems and services, and so on.
Jenkins can store the following types of credentials:
Secret text - a token such as an API token (e.g. a GitHub personal access token),
Username and password - which could be handled as separate components or as a colon separated string in the format
username:password(read more about this in Handling credentials),Secret file - which is essentially secret content in a file,
SSH Username with private key - an SSH public/private key pair,
Certificate - a PKCS#12 certificate file and optional password, or
Docker Host Certificate Authentication credentials.
so here will use dockerhub to login and push the images,
Manage jenkins-->>credentials-->>put dockerhubcredentials(username/password)
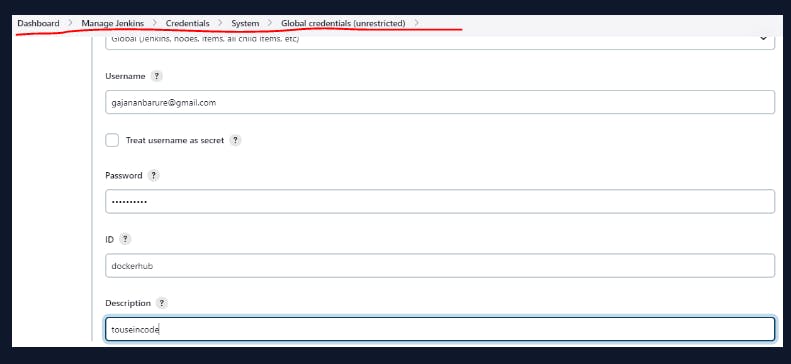
Step8:Code is available on github copy code url and put under project url

Step9:How will the stages look
Four stages:
Stage1-Code--provided giturl as code is present on github,
Stage2-Build and Test--Build an image from dockerfile

Python:3.9 is the version--Docker images can inherit from other images. Therefore, instead of creating your own base image, you can use the official Python image that has all the tools and packages needed to run a Python application.
Workdir /app/backend :To make things easier when running the remaining commands, create a working directory. This instructs Docker to use this path as the default location for all subsequent commands. This means you can use relative file paths based on the working directory instead of full file paths.
The COPY command takes two parameters. The first parameter tells Docker what file(s) you would like to copy into the image. The second parameter tells Docker where to copy that file(s) to. For this example, copy the requirements.txt file into the working directory /app.
COPY requirements.txt /app/backend
With the requirements.txt file inside the image, you can use the RUN command to run pip3 install. This works exactly the same as running pip3 install locally on a machine, but this time pip installs the modules into the image.
RUN pip3 install -r requirements.txt
At this point, you have an image based on Python version 3.9 and have installed the dependencies. The next step is to add the source code into the image. Use the COPY command as with the requirements.txt file. This COPY command takes all the files located in the current directory and copies them into the image.
COPY /app/backend
Now, tell Docker what command to run when the image is executed inside a container using the CMD command. Note that you need to make the application externally visible (i.e. from outside the container) by specifying --runserver

Stage3-Login and Push Image- As credentials can be misused or policy violations to put credentials under code so jenkins provides to put credentials under global credetials and use in code with this syntax so that misuse of credentials can be overcome.
Syntax:withCredentials([usernamePassword(credentialsId:'dockerhub', passwordVariable:'dockerhubpassword', usernameVariable:'dockerhubuser')]) { sh "docker login -u ${env.dockerhubuser} -p ${env.dockerhubpassword}" sh 'docker push gajananbarure/django-notes-app:latest'
Stage4-Deploy-final step deployment of our Django notes app which we can use to write-out the notes
Pipeline:
pipeline {
    agent any

    stages{
        stage('Code'){
            steps{
                git url: 'https://github.com/gsbarure/django-notes-app.git', branch: 'main'
            }
        }
        stage('Build and Test'){
            steps{
                sh 'docker build . -t gajananbarure/django-notes-app:latest'
            }
        }
        stage('Login and Push Image'){
            steps {
                echo 'login in docker hub and pushing'
                withCredentials([usernamePassword(credentialsId:'dockerhub', passwordVariable:'dockerhubpassword', usernameVariable:'dockerhubuser')]) {
                                  sh "docker login -u ${env.dockerhubuser} -p ${env.dockerhubpassword}"
                                  sh 'docker push gajananbarure/django-notes-app:latest'
                }
            }
        }
        stage('Deploy'){
            steps{
                sh "docker run -d -p 8000:8000 django-notes-app"
            }
        }
    }
 }
Step10:Pipeline successful..!!
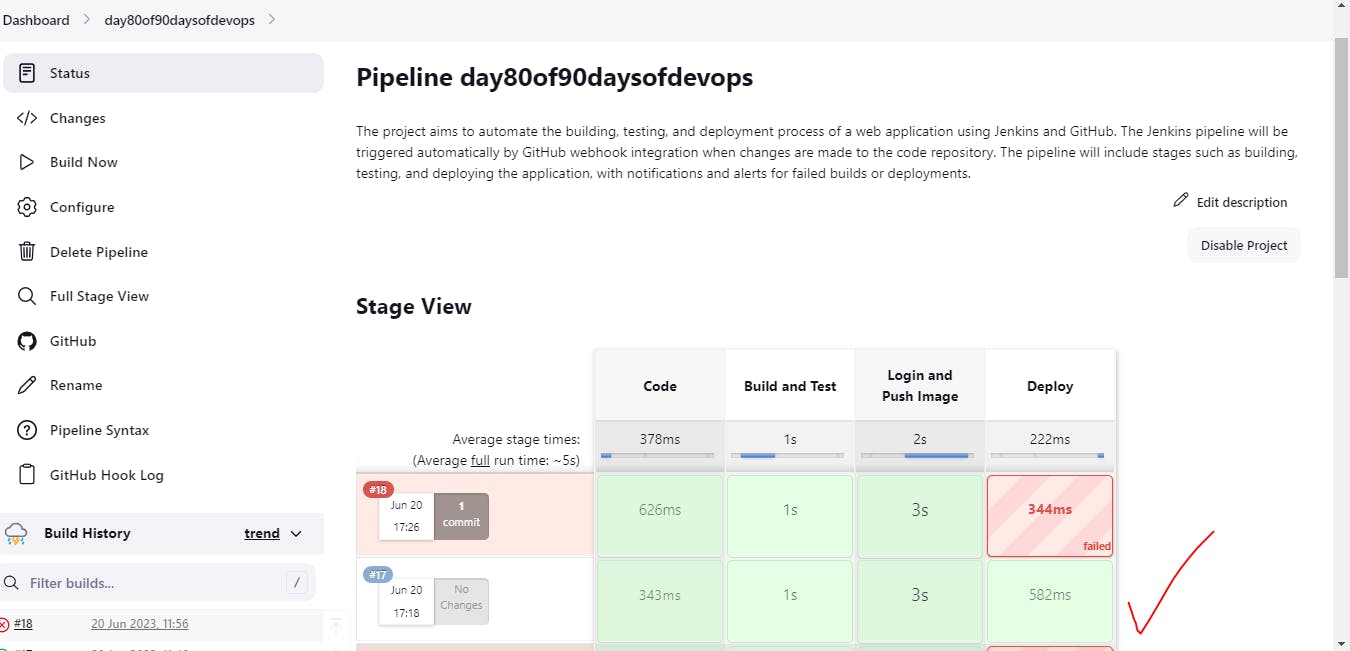
Step11:Image pushed to dockerhub

Access Public IP with port 8000
Django:notes app deployed successfully by Declarative Pipeline
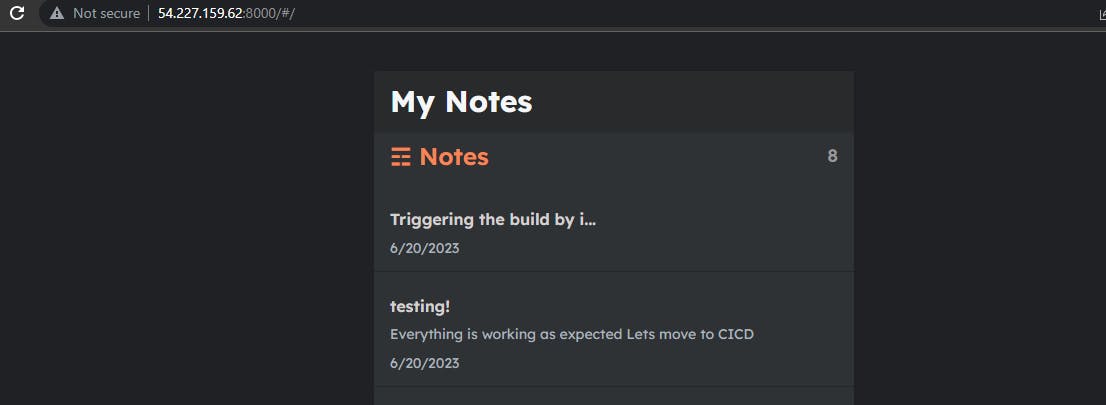
Step12:Now lets move to the CICD part
This is to autotrigger the builds if any changes in code we do not have to trigger manually.
cd .ssh -->>ssh-keygen-->>put this key ubuntu@ip-172-31-26-35:~/.ssh$ cat id_rsa.pub
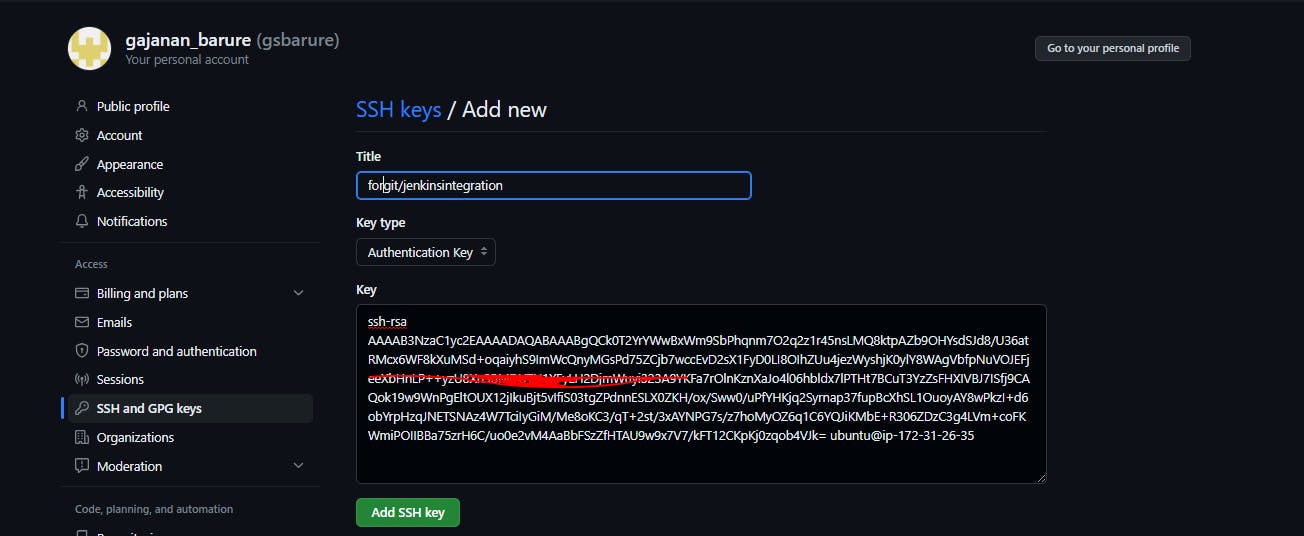
Setting-->>and generate Personal access token this we can provide in jenkins under secret text

Step13:Add this secret key in jenkins under secret
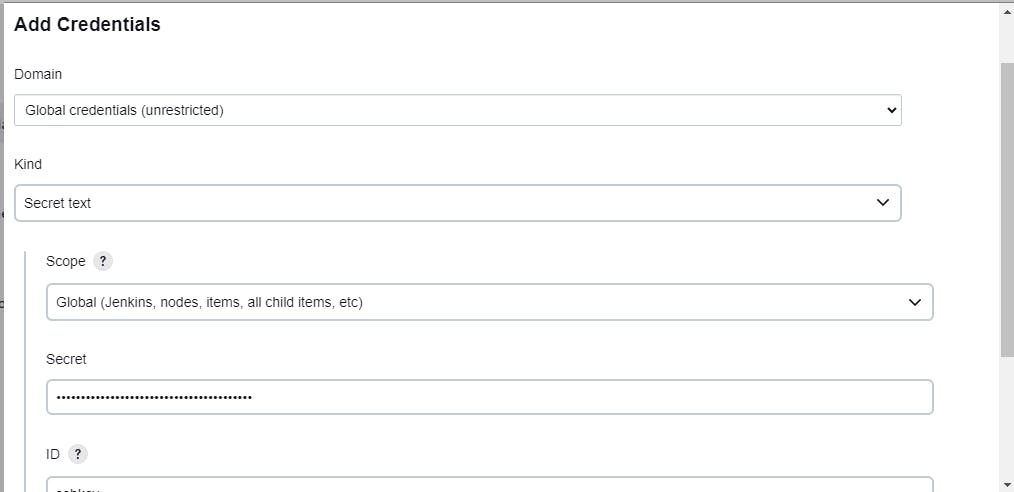

Select this option to trigger the build after code change in git it will reflect

Step14:Navigate to setting-->>webhook-->>54.227.159.62:8080/github-webhook
Webhooks can be triggered whenever specific events occur on GitHub. For example, you can configure a webhook to trigger whenever: Code is pushed to a repository.
;
Make sure if success as it will show green arrow

Step15:Make some changes in code and see if build gets triggered or not.
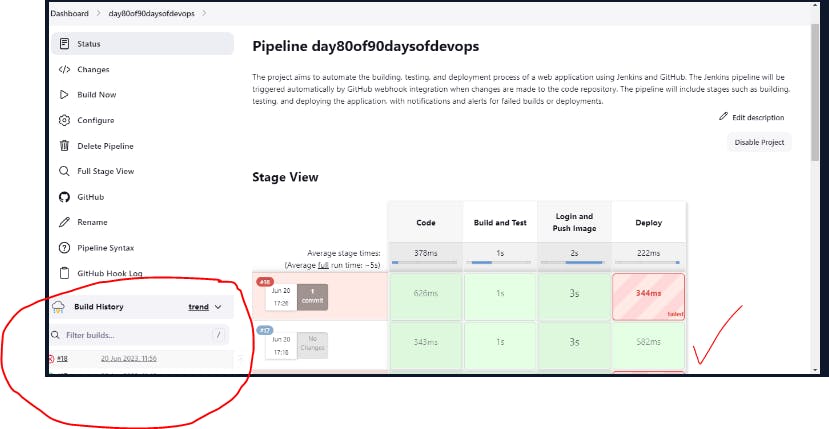
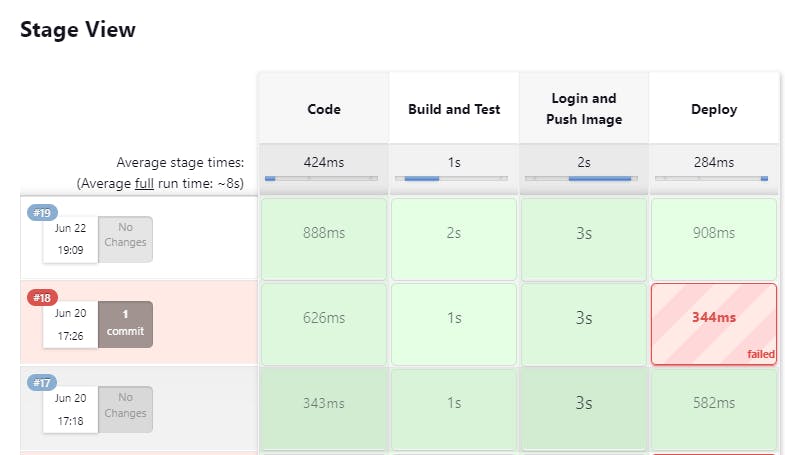
Code availability -github:https://github.com/gsbarure/django-notes-app.git
Linkdin:https://www.linkedin.com/in/gajanan-barure-7351a4140
***Happy Learning :)***✌✌
Keep learning,Keep growing🎇🎇
Thank you for reading!! Hope you find this helpful.
#day81#90daysofdevops#devopscommunity#
