Day88(DevOps)-Complete CI/CD with React and AWS Beanstalk using GitHub Actions


Project Description✔️✔️
The project involves deploying a react application on AWS Elastic BeanStalk using GitHub Actions. Git Hub actions allows you to perform CICD with GitHub Repository integrated.
Project execution steps:
Step1:Create an EC2 instance.
Code Availability:github.com/gsbarure/AWS_Elastic_BeanStalk_O..
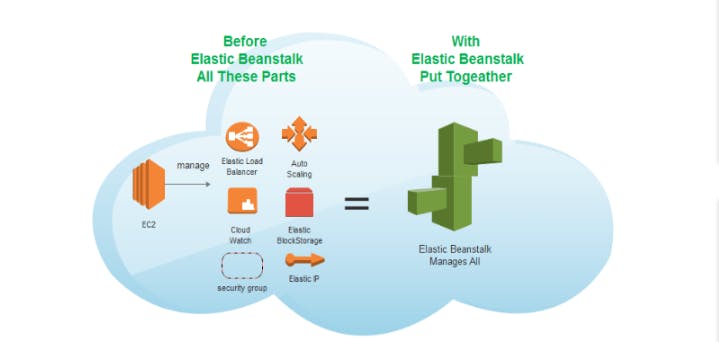
How does Elastic Beanstalk work??
You only need to upload your code to Elastic Beanstalk, and it will take care of everything else, including capacity provisioning, load balancing, auto-scaling, and application health monitoring. At the same time, you continue to have complete control over the AWS resources that support your application and are always able to access the underlying resources.
Key Points:
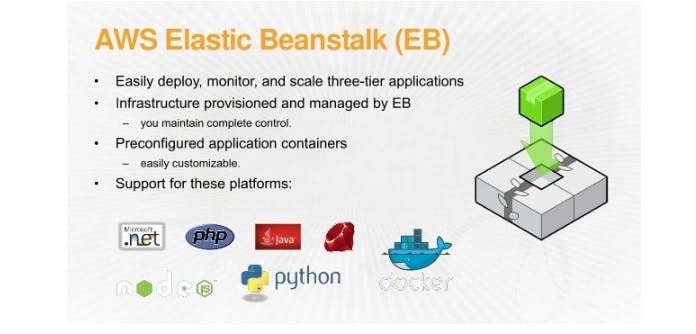
A service from AWS for orchestration.
Is employed to scale and deliver web applications and services.
On well-known servers like Apache, Passenger, Nginx, and IIS, support Java, Python, Ruby,.NET, PHP, Node.js, Go, and Docker.
Deploying your application to AWS in the quickest and simplest manner possible.
It handles application health monitoring, load balancing, deployment, capacity provisioning, and auto-scaling.
Managing AWS resources is completely up to you.
Step2:Install docker: sudo apt-get install docker.io
Write Dockerfile for our application:

Terms you should know for to create Dockefile:
FROM node:14-alpine as builder
WORKDIR /app
COPY package.json . #Copying to current working directory/app directory
RUN npm install #install dependecies under docker container
COPY . . RUN npm run build #It will build our app as static folder.
FROM nginx #Base image nginx nginx will serve our static folder on port 80 which build in above step.
EXPOSE 80 COPY --from=builder /app/build /usr/share/nginx/html
Run dockefile and create a container with this commands
sudo docker build -t <provide_image_name> .
sudo docker run -d -p 80:80 <image_name>
Check running docker container with docker ps command.

Step3:Check if application is running on the exposed port as container gets created in above step.
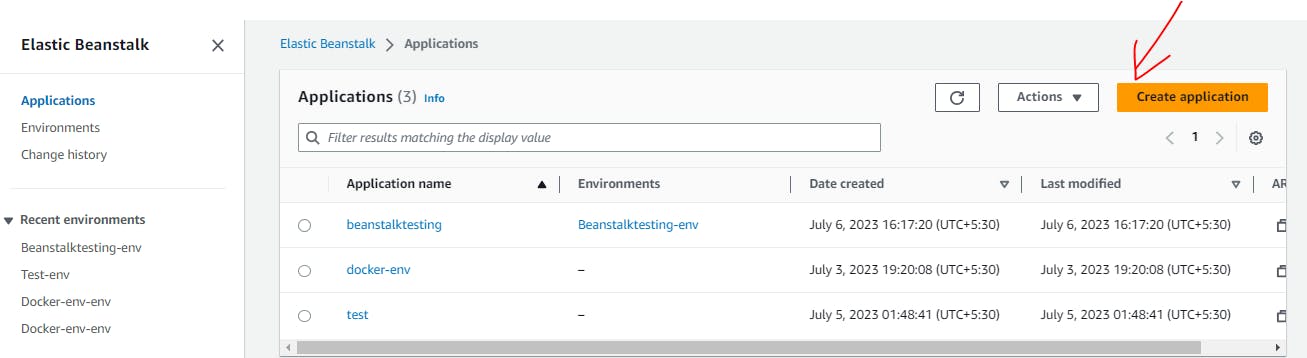
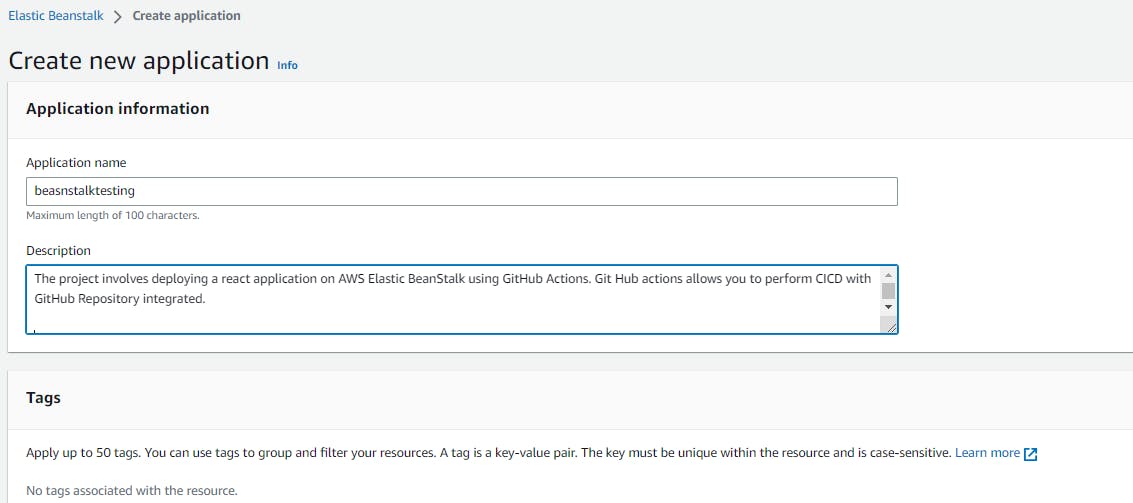
Step4:Now,Lets move to Amazon Elastic Beanstalk and Create application
Provide Name and description
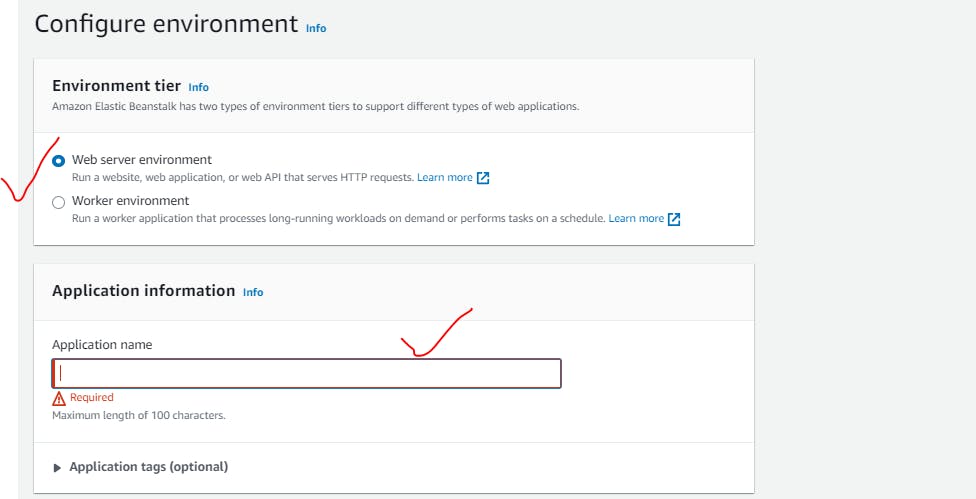
Create Environment once your application gets created
Step5:Create IAM Role with the required policies.

Select options as below and provide Service,Key and Role
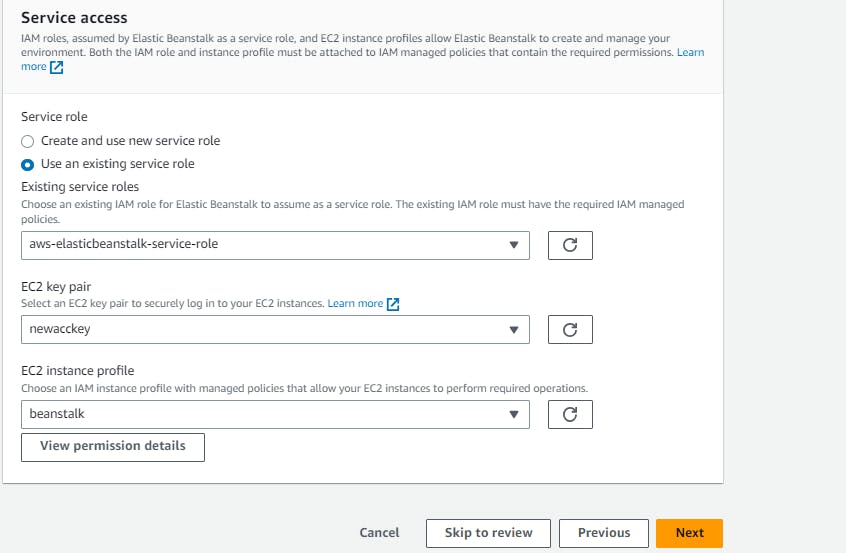
Step6:Keep moving with default options and verify if instance gets created or not with our configurations.

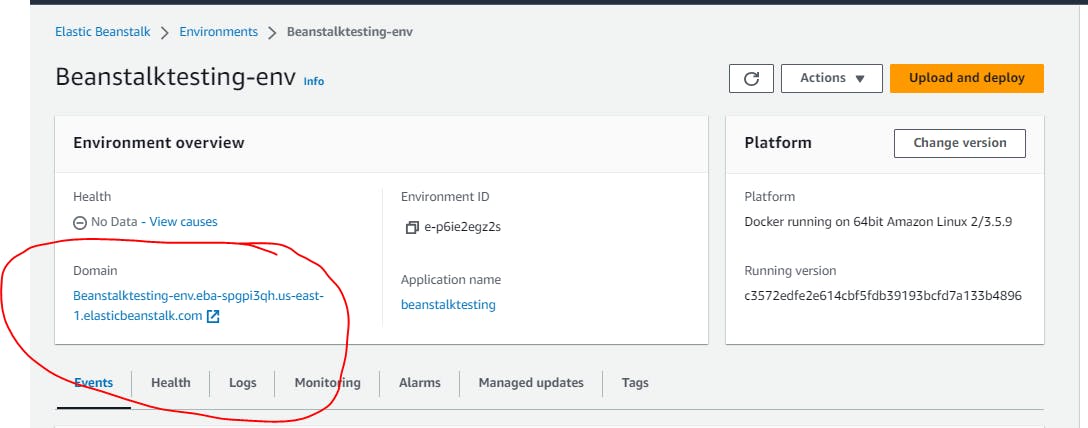
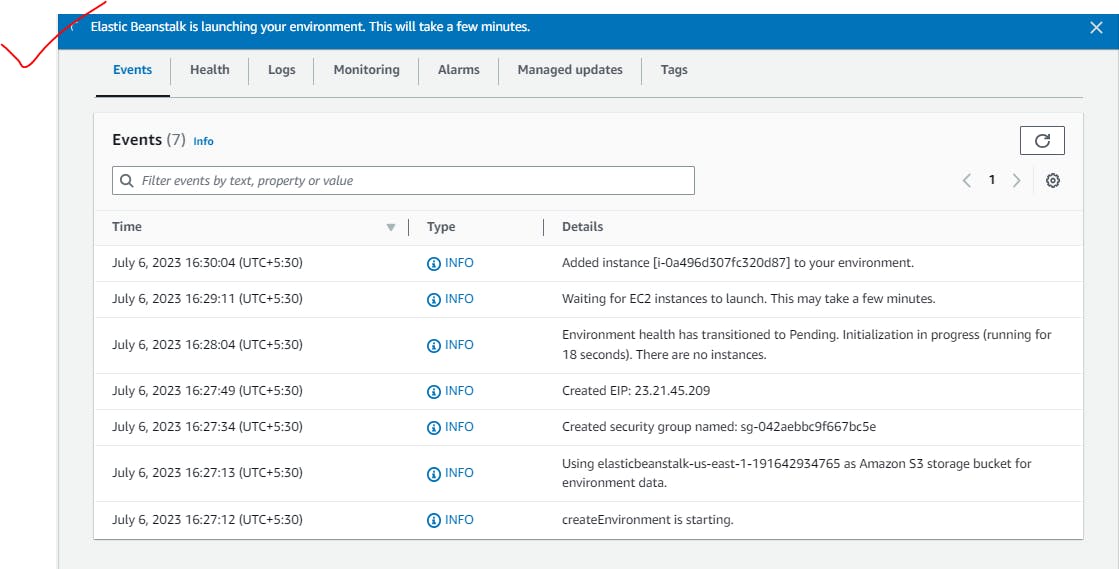
Verify if environment gets created successfully.
Check events:
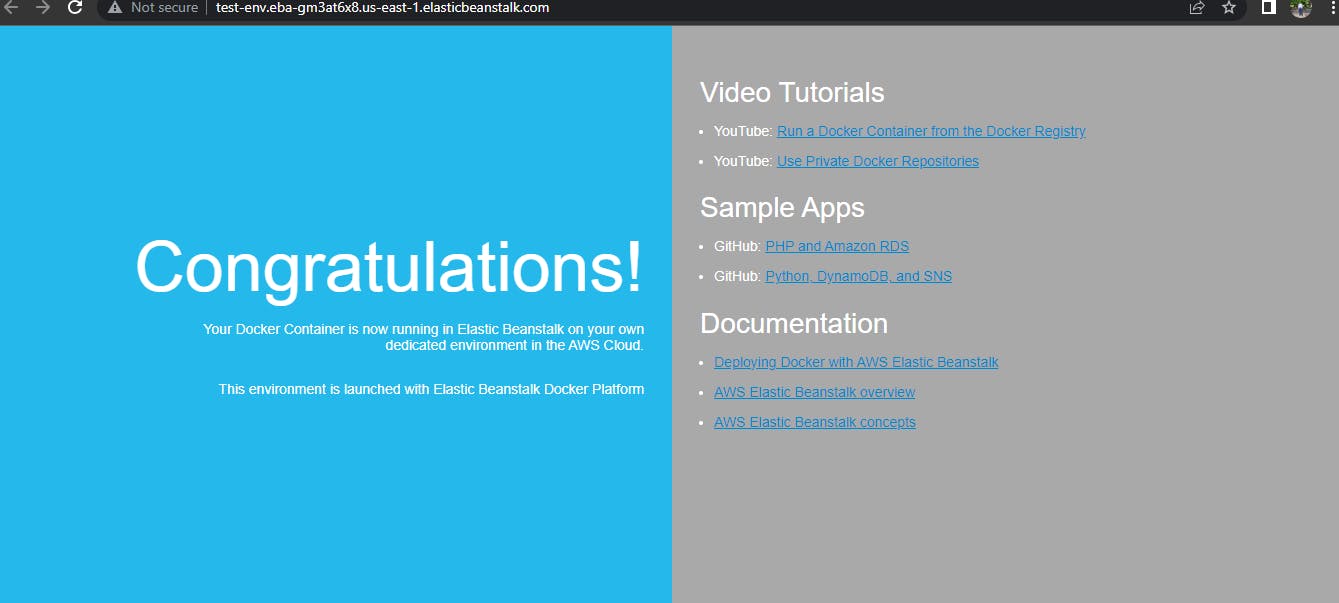
Step7:Try to access this URL.
So we are good to go with our Docker deployment with AWS Beanstalk.

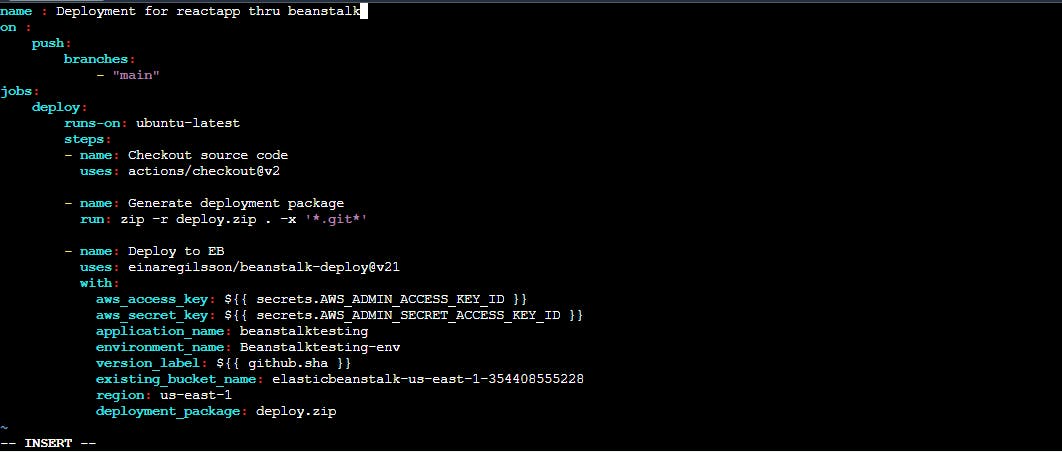
Step8:Create github workflow file
Provide your bucket name which we created by Beanstalk
Also provide,Application Name,Environment Name etc like below.
name : Deploy react application thru BeanStalk #Name of the deployment
on :
    push: #triggers with push
        branches:
            - "main"  #Branch
jobs:
    deploy:
        runs-on: ubuntu-latest  #Image
        steps:
        - name: Checkout source code
          uses: actions/checkout@v2

        - name: Generate deployment package
          run: zip -r deploy.zip . -x '*.git*'  #zip your code

        - name: Deploy to EB   #deploy to elastic beanstalk
          uses: einaregilsson/beanstalk-deploy@v21
          with:
            aws_access_key: ${{ secrets.AWS_ADMIN_ACCESS_KEY_ID }}
            aws_secret_key: ${{ secrets.AWS_ADMIN_SECRET_ACCESS_KEY_ID }}
            application_name: docker-react
            environment_name: Dockerreact-env
            version_label: ${{ github.sha }}
            existing_bucket_name: elasticbeanstalk-us-east-1-354408555228
            region: us-east-1
            deployment_package: deploy.zip
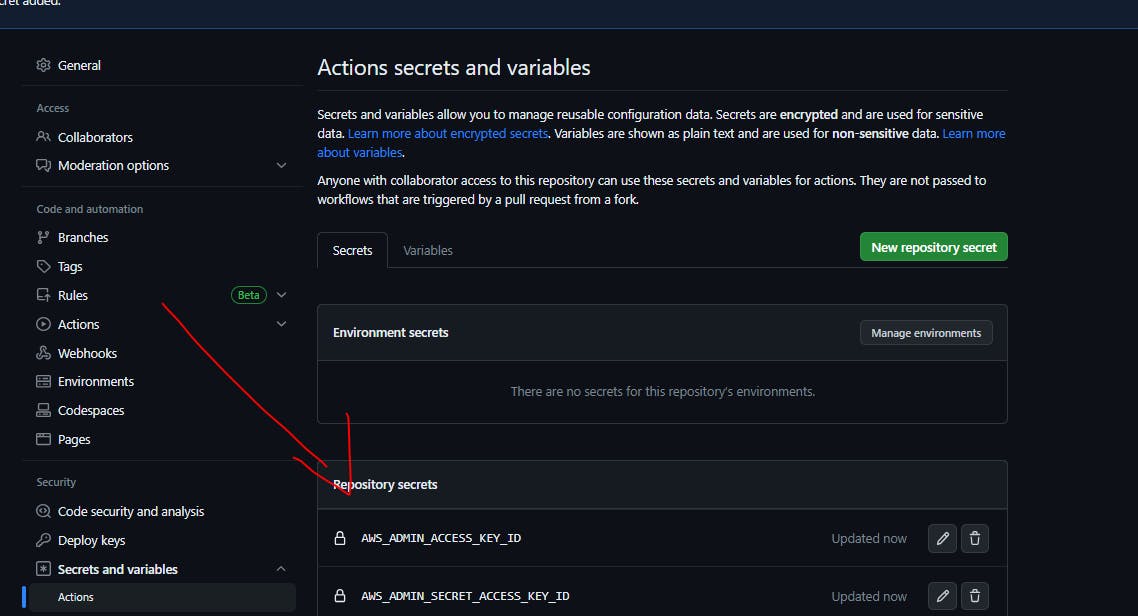
Step9:Create IAM user and with below policies.

Create Access key and Secret key for the integrations(GITHUBactions)
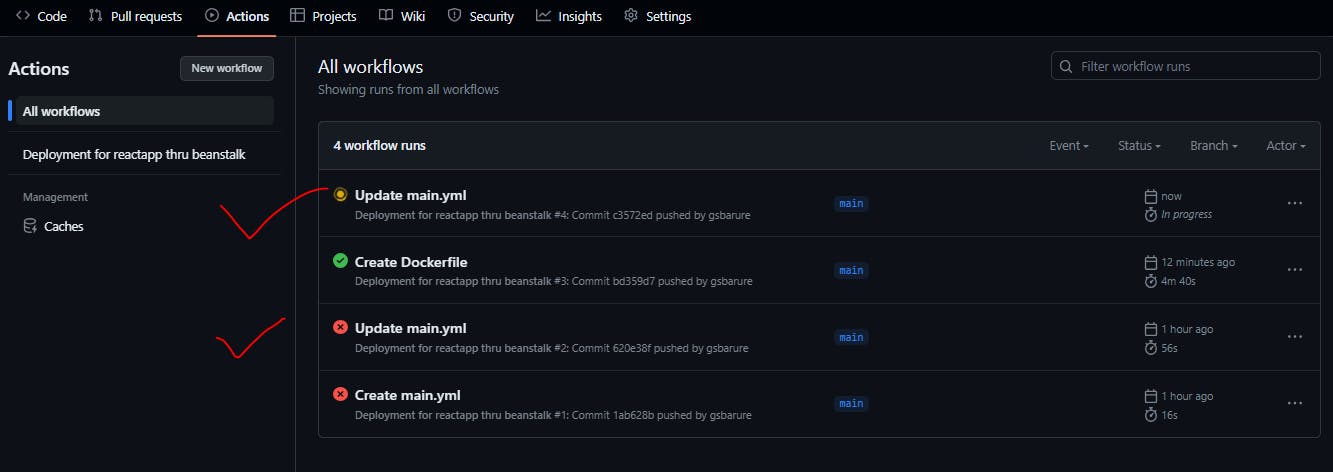
Deployment gets triggered after the commit.
Notification received over mail.

Step10:Made some changes and successful deployment on Beanstalk.

As we provided deployment package as Zip folder check your S3 Bucket


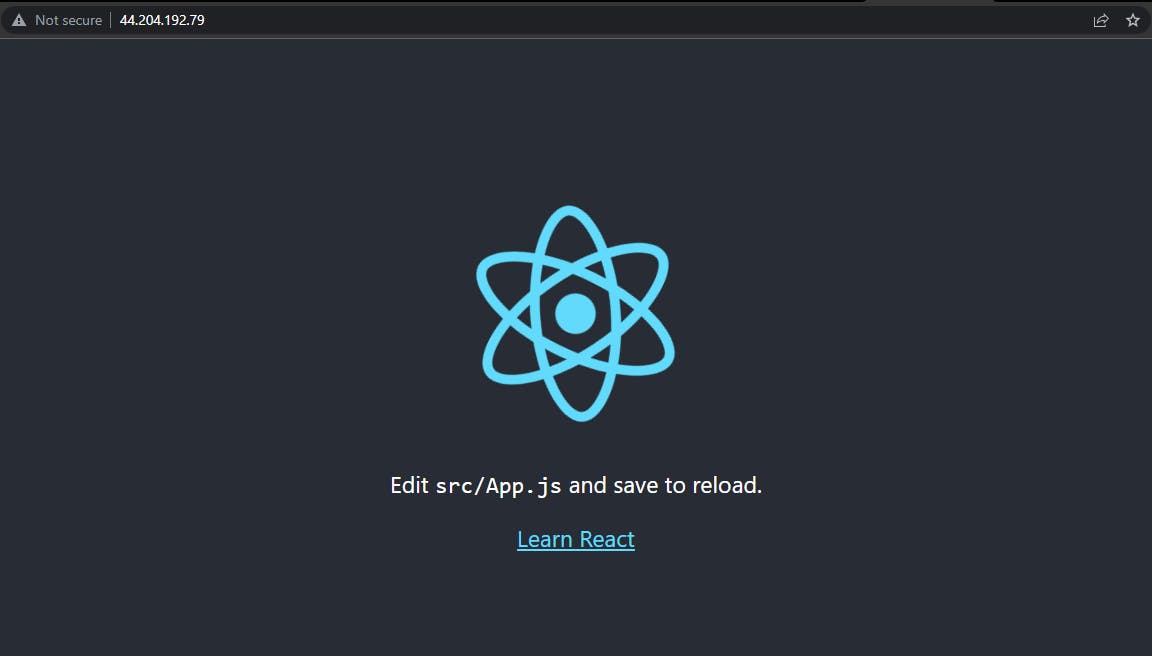
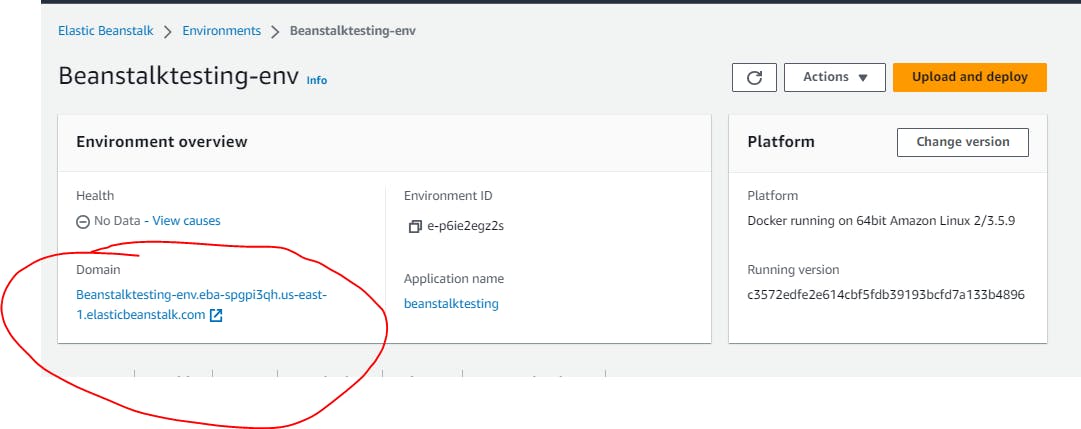
Step11:Now access the same URL and check if our app got deployed successfully.
Workflow actions for the deployment
Step12:Access your environment URL,Here is the Deployment with AWS Beanstalk..!!✔️✔️

Code (GitHub):github.com/gsbarure/AWS_Elastic_BeanStalk_O..
Linkdin:https://www.linkedin.com/in/gajanan-barure-7351a4140✔️
***Happy Learning :)***✌✌
Keep learning,Keep growing🎇🎇
Thank you for reading!! Hope you find this helpful.
#day88#90daysofdevops#devopscommunity#